
Livestream Link Part One
Livestream Link Part Two
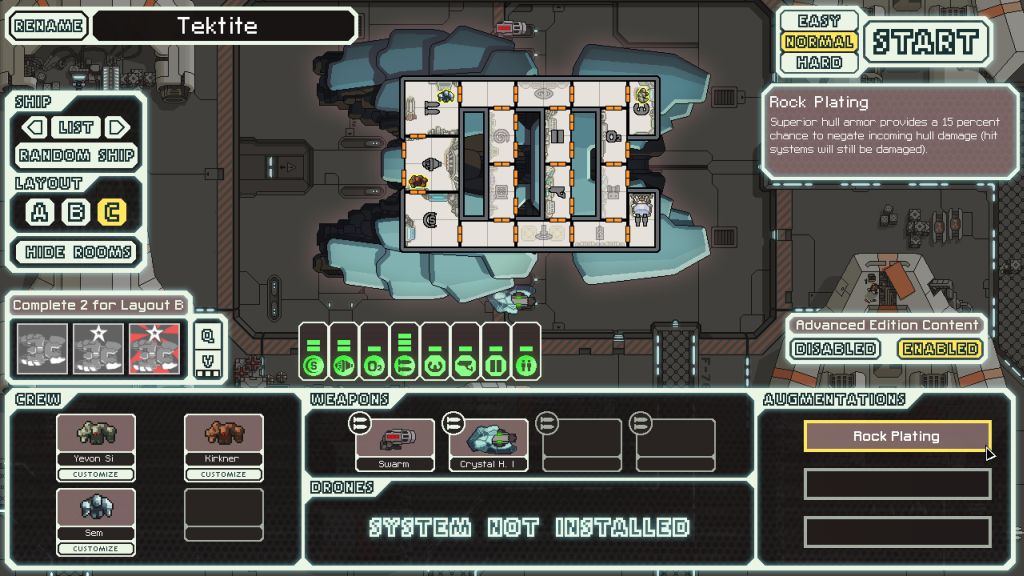
The Rock C design is one of the stranger setups in FTL. This ship draws upon the in-game plot relationship between the Rock race and the Crystal race, with the Rock C design mimicking some of the elements of the Crystal ships. Aside from the metallic blue crystalline exterior, this ship starts the game with a Crystal crewmember and a Heavy Crystal I weapon in the hold. The Rock C setup therefore allows players who haven't managed to unlock the secret Crystal cruiser to play around with the game's overpowered Crystal race if desired. This is also the best ship in the game for unlocking said Crystal cruiser via the event path, as it begins with 2/3 of the unlock quest already completed. You can skip having to find the stasis pod and open it; all the the player must do is enter the Rock Homeworlds sector and find the correct beacon holding the entry to the Crystal Homeworlds sector. (There's a little cheat to make this even easier; renaming the Crystal guy to "Ruwen" will cause the Quest beacon to become visible on the sector map.) In other words, you can think of the Rock C as the unofficial third design for the Crystal Cruiser.
As far as its performance as an actual ship, I've rated Rock C as slightly below average in my tier list. Not truly terrible but outclassed by a lot of other ships. The Heavy Crystal I is a decent weapon, effectively a Heavy Laser I that takes longer to charge up and ignores one shield layer. It's a nice complementary weapon assuming that the player can find some other lasers or flak to pair with it. On the other hand, if you can't find another weapon by the time that the enemy ships start showing up with the second shield bubble, the Rock C is in some serious trouble. The other starting weapon is the Swarm Missile, another unique offensive tool that competes for "best missile in the game" status. (I personally believe it's between the Swarm Missile and the Artemis Missile, and it's a close call between them.) The Swarm Missile will save up a missile charge every 7 seconds and can hold up to three at a time; each volley will only expend 1 missile ammunition, even at the full charge of three. I've found the best aspect of this weapon to be the quick chargeup time, not the ability to fire three missiles at once. At a lightning fast 7 seconds, the player can get off a shot before most other weapons have finished charging, opening up the possibility of "first strike" attacks against enemy weapons. This is especially useful at the beginning of a run where the enemy ships will often only have a single weapon in operation. Fire first, knock it out, avoid taking damage. The downside is that the missiles are like Flak projectiles in the sense that they're slightly inaccurate, hitting in a zone and sometimes missing the desired spot on the enemy ship. Remember as well that the Swarm Missile remains a missile weapon, with all of the disadvantages associated with that weapon type. I suggest trying to replace it with something that doesn't use ammunition at the first good opportunity.
The Rock C therefore gets downgraded due to having two different weapons that are both essentially secondary in nature. Either Dual Lasers + Swarm Missile or Dual Lasers + Heavy Crystal would be awesome, but the Swarm Missile + Heavy Crystal is a bit of an awkward pairing. The only other advantage of this ship is the Rock Plating augment, which sells for a very nice 40 scrap at stores. Everything else is pretty minimal. There are no additional starting systems, and the ones that Rock C does have all come at minimal levels. It's a nice template to build off of, but definitely outclassed by roughly 2/3 of the other designs. This is a ship to play for the wacky Crystal thematic elements, not for power gaming reasons.
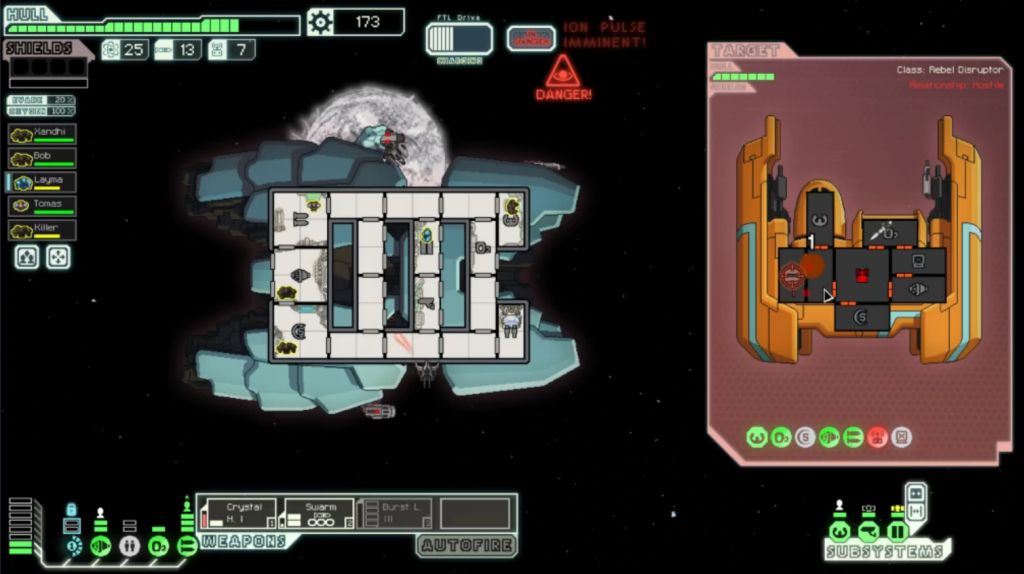
The particular run linked above at the top of this page benefitted from almost absurdly good luck. The very first store had both Long Range Scanners and Scrap Recovery Arm for sale; I had enough to pick up both, after effectively trading Rock Plating + 10 scrap for the Scrap Recovery Arm. This provided a solid economic foundation for the rest of the run that led to a heavy snowball as time passed. Before the end of Sector One, I'd already found a Burst Laser III from a random battle. Sector Two had an endless array of battles (thanks Long Range Scanners!) but very little in the way of additional weapons to purchase. I was actually using the Burst Laser III that dropped for lack of other options. That changed in Sector Three, as I was able to trade in my scrap and inefficient weapons for a Burst Laser II and Halberd Beam combination. At that point, with Burst Laser II + Halberd + Heavy Crystal + Long Range Scanners + Scrap Recovery Arm... well, let's just say that I would have needed to mess up pretty badly to lose. Later on, I would pick up even more silliness from the random number generator: a free Defensive drone, a free Burst Laser I (giving me a flagship-capable weapons setup in Sector Three!), and more crew than I knew what to do with. I would end up smashing the rebel flagship at the end of the run with only a single point of damage taken across all three phases. Almost had it! Maybe next time.
Thanks for reading / watching. 


