
Game Seven Alternate Histories Spreadsheet
One of the recurring features of past seasons of AI Survivor have been our "alternate histories", running additional iterations on the same maps to see if the same events would play out again. Game Seven was a match where the favorites in the picking contest came through, with Mansa Musa and Mao Zedong taking home the two playoff spots. Was that something which would unfold in each game? This was a topic that called for more investigation with alternate history scenarios. Following the conclusion of previous seasons of AI Survivor, I had gone back and investigated some of the completed games and found that they tended to play out in the same patterns over and over again. While there was definitely some variation from game to game, and occasionally an unlikely outcome took place, for the most part the games were fairly predictable based on the personality of the AI leaders and the terrain of each particular map. Would we see the same patterns play out again and again on this particular map?

The original inspiration to run these alternate histories came from Wyatan. He decided to rerun the Season Four games 20 times each and publish the results. The objective in his words was twofold:
- See how random the prediction game actually is. There's a natural tendency when your predictions come true to go "See! Told you!", and on the contrary to dismiss the result as a mere fluke when things don't go the way you expected them to (pleading guilty there, Your Honour). Hopefully, with 20 iterations, we'll get a sense of how flukey the actual result was, and of how actually predictable each game was.
- Get a more accurate idea of each leader's performance. Over 6 seasons, we'll have a 75 game sample. That might seem a lot, but it's actually a very small sample, with each leader appearing 5-10 times only. With this much larger sample, we'll be able able to better gauge each leader's performance, in the specific context of each game. So if an AI is given a dud start, or really tough neighbours, it won't perform well. Which will only be an indication about the balance of that map, and not really about that AI's general performance. But conversely, by running the game 20 times, we'll get dumb luck out of the equation.
Wyatan did a fantastic job of putting together data for the Season Four games and I decided to use the same general format. First I'll post the resulting data and then discuss some of the findings in more detail. Keep in mind that everything we discuss in these alternate histories is map-specific: it pertains to these leaders with these starting positions in this game. As Wyatan mentioned, an AI leader could be a powerful figure on this particular map while still being a weak leader in more general terms. Now on to the results:
Game One | Game Two | Game Three | Game Four | Game Five
Game Six | Game Seven | Game Eight | Game Nine | Game Ten
Game Eleven | Game Twelve | Game Thirteen | Game Fourteen | Game Fifteen
Game Sixteen | Game Seventeen | Game Eighteen | Game Nineteen | Game Twenty


(Note : "A" column tracks the number of war declarations initiated by the AI, "D" the number of times the AI is declared upon, "F" the points for finish ranking, and "K" the number of kills.)
I was so interested in the alternate histories for Game Seven that I ran all 20 repeat matches before the season even finished, squeezing them in off-stream before the next round of playoff games took place. The compelling question for me was whether or not Isabella's gameplan would be thwarted by the appearance of the same barbarian city which had sabotaged her opening sequence in the actual Game Seven. I was one of the individuals who had picked Isabella to win the match based on her insanely fertile capital region which synergized perfectly with Spain's starting techs. For anyone backing Spain, it was a total disaster when this barbarian city popped up roughly 30 turns into the livestream:

Yayoi completely blocked Isabella's expansion to the west and left her as a stagnant runt of a nation which was never able to become a serious contender. This was exactly the sort of situation that the alternate histories were designed to answer. I had to know: what would Spain's opening (and the wider game overall) look like when that barbarian city wasn't around? The experience of re-running this map 20 additional times proved that the specific location of Yayoi had been a highly unlucky break for Isabella. A barbarian city never spawned on that same location in any of the 20 replays of this map. Of course, that's because Isabella settled her second city right in the middle of that floodplains region in every single game and prevented any such barbarian city from ever showing up. In other words, the truly unlikely result had been Isabella placing Barcelona on the eastern coast rather than in the floodplains area. I still have no idea why she picked the coastal spot in the Livestream match while choosing the superior floodplains settlement in every replay of the map.
Without the barbarian city to stunt her growth, Isabella was significantly stronger in many of these alternate histories. In fact, she ended up grading out as the second-strongest leader on this map overall which should serve as a validation of anyone who was backing Isabella due to the fertility of her capital area. Isabella won four times and came in second another four times while also scoring the most kills of any leader across the alternate histories. Her best performances tended to take place when she was able to conver Mehmed to her Christian religion and then work together with him to conquer the rest of the map. The logical path of expansion for Isabella was therefore through Mao's China and there was a strong correlation between Spain doing well and China doing poorly. In the eight matches where Isabella would have advanced to the playoffs with a top two finish, Mao was eliminated six times and scored zero top two finishes of his own. It was basically an "either/or" situation at the bottom of the map and only one of those two leaders could emerge as a powerful competitor.
But with all of that said, we still wound up experiencing what was largely a typical game in the actual Game Seven. Mansa Musa was definitely the strongest leader on this map, winning 12 times in 21 matches including the actual Livestream game, while Mao came in second more than anyone else and Peter was a heavy favorite to be First to Die. It turned out that the diplomacy on this map heavily favored Mansa Musa and made it difficult for anyone else to drag him down before the Malinese leader's Financial trait could run away with the game economically. Mansa's western flank was secured by the peaceful Roosevelt and their two nations almost never fought one another. (It did happen a couple of times but very, very rarely.) Peter wound up being the weakest leader in the game and his frequently early eliminations meant that he was infrequently able to put any pressure on Mansa Musa. The most common conflict in that part of the map was Roosevelt vs Peter or else the Mansa/Roosevelt combo working together against Peter, a bad matchup for the unfortunate Russians.
Mehmed was therefore the one leader who was in a position to stop Mansa Musa, much as we experienced in the Livestream broadcast. However, in most of the alternate histories it was Mansa's Islam that spread to Mehmed and not Isabella's Christianity; this was one of the other oddities in the game that we watched. Mansa Musa was helped in this regard by the fact that his holy city of Djenne happened to be placed on a river network that extended through the entire center of the continent, typically resulting in Islam becoming the dominant religion of Mali, America, Russia, and the Ottomans:

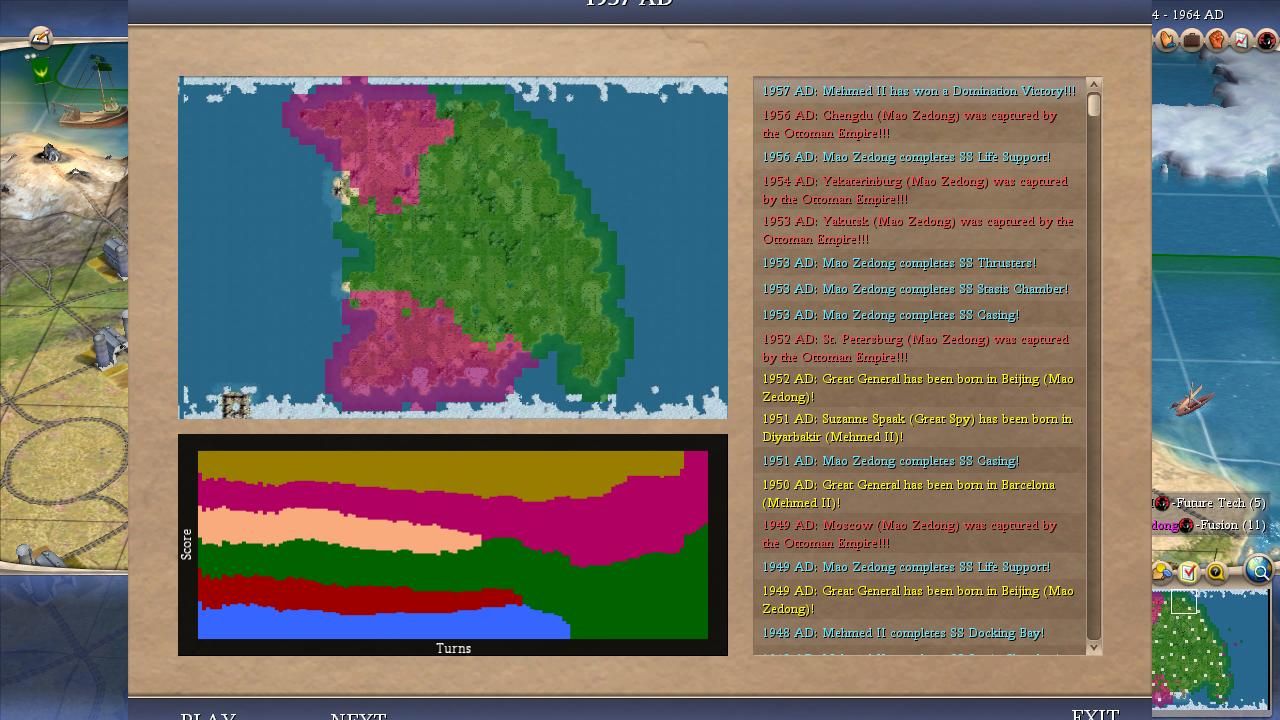
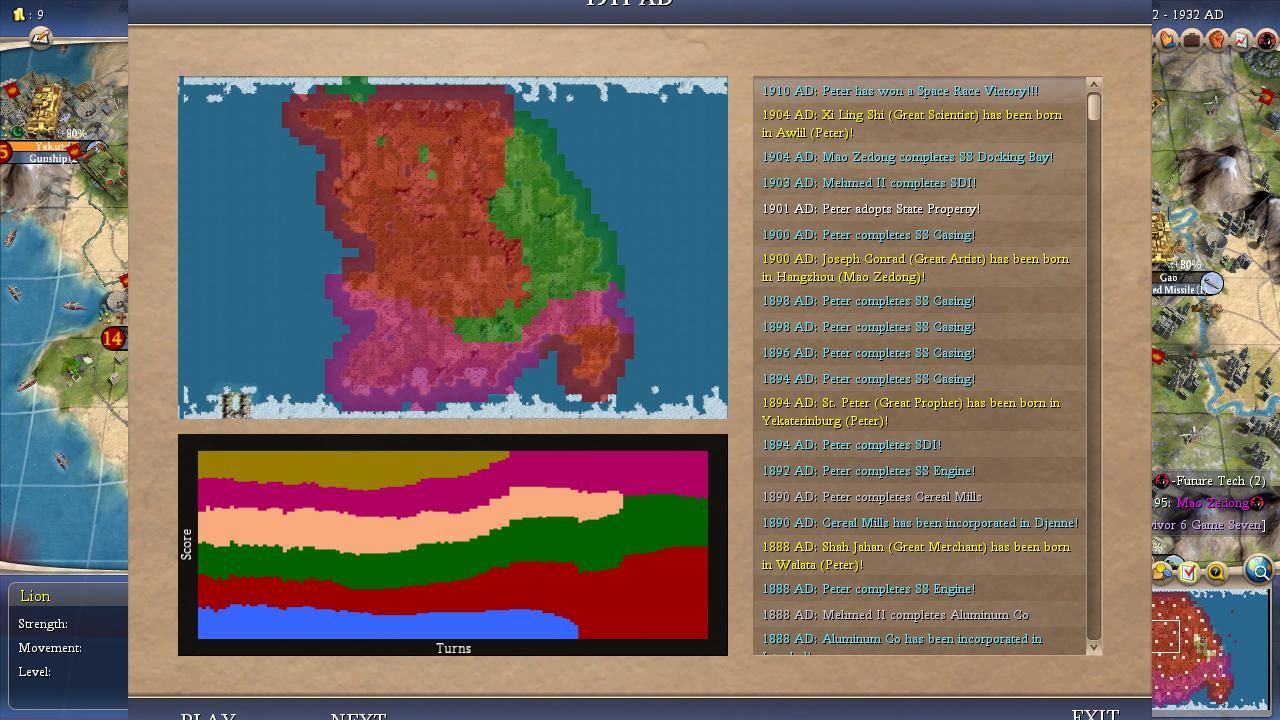
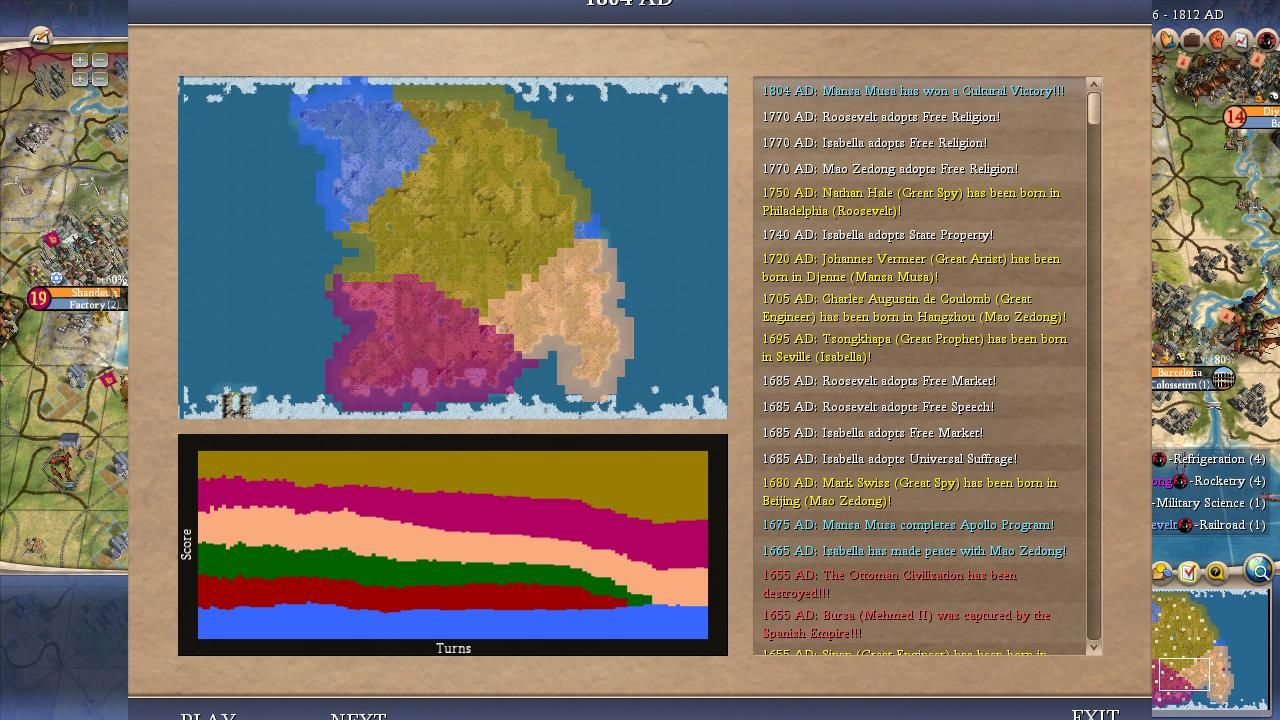
This was one of those random elements of the gameplay which was basically impossible to predict ahead of time. If Mansa's second city had been placed one tile further north or east, it would have missed the river network entirely and Islam's spread would have been much slower across these games. But Mansa's second city was always located in the same location and he usually benefited from these fortunate early spreads that left the northern side of the map flying the crescent banners of Islam. This decreased the likelihood that Peter and Mehmed would attack Mansa Musa in the early game while simultaneously greatly increasing the odds that Isabella and Mehmed would be drawn into conflict. In fact, Isabella and Mehmed were nearly always at one another's throats in these games which was an enormous help to Mansa. A typical game would see Peter and Roosevelt fight one another while Isabella and Mehmed clashed, Mao would intervene in one of those two wars, and Mansa would race away with the economic side of the game until he was unbeatable. Mansa went for the Cultural option in every single one of his victories and he raced across the finish line at extremely early dates. He won *SEVEN* different times before Turn 300 and by shortening the game he minimized the chance for any of the other AI leaders to snowball over the rest of the map. There were a couple of times where Mansa would have been crushed by someone else's Domination attempt, as in Game #6 and Game #8, but he simply won too fast before anyone could get into a position to stop him.
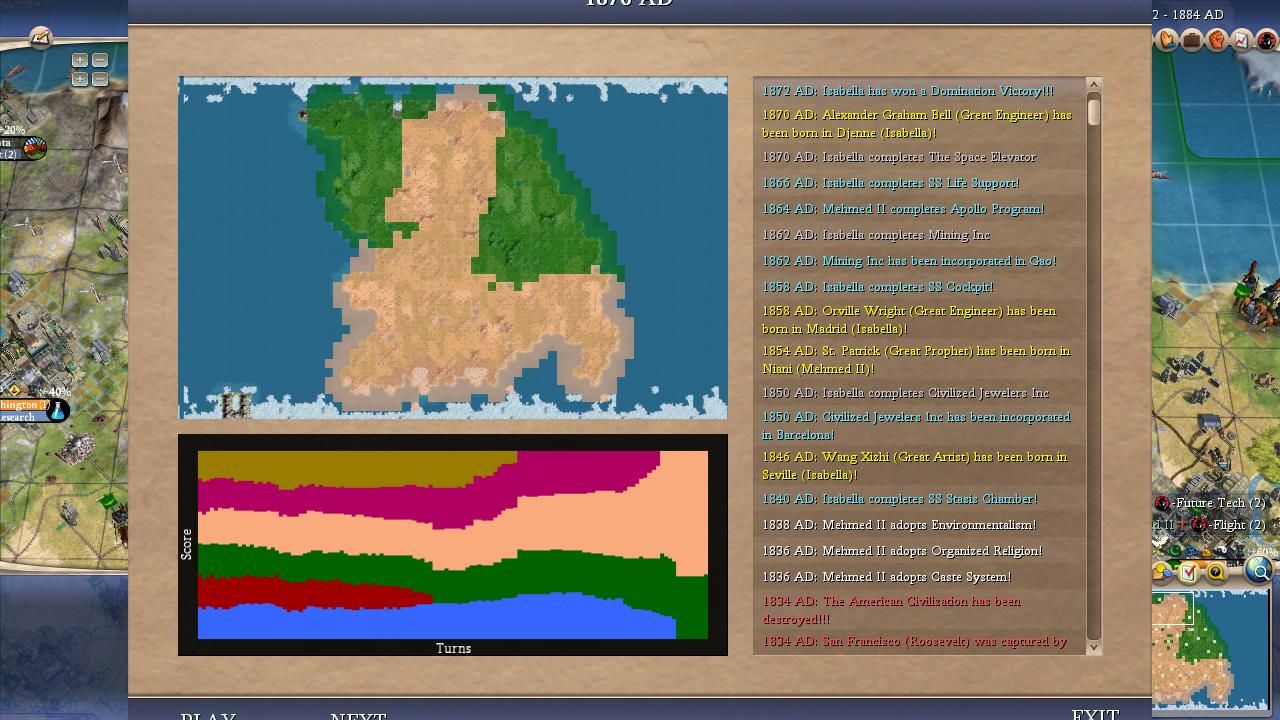
This by no means meant that Mansa Musa was invincible on this map and his high-risk / high-reward gameplay meant that Mansa only finished in second place a single time. When he didn't win the game, he was almost always eliminated (although rarely the First to Die on this map, only twice in the 20 map replays). Mansa's worst games came when someone else became a runaway leader via conquest while he was still trying to establish economic superiority. For example, in Game #2 Isabella solo conquered Mao and then became too powerful to stop while in Game #12 it was Mehmed who devoured Spain and then afterwards crashed over Mansa's territory like a tidal wave. It was also terrible news for Mansa on the very rare occasions where Peter became a strong leader; Peter had three top two finishes and Mansa was eliminated in all three of those games. These were games where Mansa tended to be eliminated through an early dogpile and that created the space for Russia to be effective. This was my biggest personal misread of the map: I thought that Peter would be a real competitor when he turned out to be the weakest leader on the continent. Instead we found ourselves in a setup where Peter was weak, Mehmed was stuck fighting a religious deathmatch with Isabella, and Mao was too far away to have much impact. That was a recipe for a Mansa runaway performance in game after game.
Now for a look at the individual leaders:

Mansa Musa of Mali
Wars Declared: 18
Wars Declared Upon: 58
Survival Percentage: 65%
Finishes: 11 Firsts, 1 Seconds (57 points)
Kills: 8
Overall Score: 63 points
Mansa was the best leader on this map with an impressive victory rate of greater than 50%. I covered most of the reasons for Mansa's success above but I wanted to highlight again just how quickly many of his victories took place. He won on Turn 289, Turn 275, Turn 289 again, Turn 284, Turn 298, Turn 295, and an amazing Turn 272, with Culture as the victory type every single time. Some of these games were crushing runaway performances, like in Game #5 and Game #15 where Mansa was more than a full era ahead of anyone else in technology even with Mali running the culture slider. Other games were nailbiters where Mansa narrowly crossed the finish line on culture before his house of cards could come crashing down. In Game #3, Mansa's third city went Legendary and then was captured a mere two turns later after the victory had taken place; he went on to be eliminated completely by Mao in the post-victory turns. Similarly, in Game #6 Isabella declared on Mansa right before the third city went Legendary and the post-victory turns resulted in a complete collapse of Mali immediately thereafter. Mansa was winning these games very quickly and if he hadn't been winning them so quickly then some of those wins would have turned into ugly defeats. Despite his many victories, Mansa Musa only had 8 kills which was barely more than Roosevelt and Peter could manage; he was also declared upon about three times as often as Mali initiated wars. In other words, this was the classic Mansa Musa package: winning the game through economic dominance and rarely getting involved in conflicts unless absolutely necessary. The map lined up well for Mansa and to his credit he took full advantage of the situation.

Isabella of Spain
Wars Declared: 33
Wars Declared Upon: 38
Survival Percentage: 60%
Finishes: 4 Firsts, 4 Seconds (28 points)
Kills: 14
Overall Score: 42 points
Isabella's excellent starting location was enough for her to wind up as the second-best scoring leader on this map behind Mansa's top performance. She was the only leader aside from Mansa to win with any kind of consistency as the other four leaders couldn't manage more than one or two wins apiece. The main hump that Isabella needed to overcome on this map was the nearby presence of Mehmed. On the unlikely occasions that she was able to work together with Mehmed, the two of them were able to run the table together as took place in Game #2 and Game #18. These were Isabella's best games, the ones in which she was able to spread Christianity to Mehmed and form a strong partnership, a joint agreement in which Spain inevitably seemed to be the senior partner. It was far more likely for Isabella and Mehmed to find themselves on opposite sides of the religious divide, however, and then Isabella's strength was generally determined by how quickly she could overcome the Ottomans. This typically didn't work out that well for Isabella, as she would find herself too far behind Mansa Musa even if she was able to solo conquer Mehmed. Her other avenue for success was overrunning China but that tended to be predicated on a friendship with Mehmed to secure the northern border and therefore wasn't a common outcome. Her worst games came when Isabella found herself stuck in a 1 vs 2 situation against Mehmed and Mao which happened in roughly a third of the games and resulted in most of Spain's eliminations. When Isabella was able to get out of the southeast corner of the map she could become a real terror and it's not a coincidence that Spain had the most kills across the alternate histories. She was a real competitor in about half of these games while still rarely being able to overcome the ticking time bomb that was Mansa Musa.

Mao Zedong of China
Wars Declared: 45
Wars Declared Upon: 22
Survival Percentage: 70%
Finishes: 2 Firsts, 8 Seconds (26 points)
Kills: 12
Overall Score: 38 points
Mao graded out similarly to Isabella albeit by reaching that score in a completely different fashion. Whereas Isabella had a moderate number of both first and second place finishes, Mao won less frequently but had by far the highest odds to finish as the runner up. The Chinese leader came in second place eight different times and the Mansa/Mao combination that we watched on Livestream wound up being a common outcome for the two playoff spots. Although this was not an especially great map for Mao, he was able to lurk around and stay out of destructive wars in most games. There were a bunch of times when I would turn back to the screen as the AI was running these games against itself and suddenly a mediocre-looking Chinese civ was sitting in second place because the other competitors had self-destructed in some fashion. Mao benefited in this regard simply by being the leader who was the furthest distance away from Mansa Musa on the map. The two of them rarely fought one another directly and this was surely part of the reason why Mao had the best survival rate of any AI leader. Mao was an aggressive leader and scored the second-most kills with 12 but most his aggression tended to be directed against Mehmed or Isabella on the southern side of the map. Some of Mao's best games came on the infrequent occasions where he went north and joined with Roosevelt or Mansa in partitioning Peter's territory; this tended to result in second place finishes though because an early Peter demise was also good for Mansa Musa. Mao has the reputation of being a solid, workmanlike AI leader that doesn't do anything too flashy and this game certainly reinforced that perception. His one Spaceship victory was much, much later (Turn 368) than Mansa's early cultural finishes - he simply couldn't keep pace from an economic perspective if Mansa wasn't knocked out early on. Mao kind of hung around without making any major mistakes and that was enough to secure him a bunch of second place finishes in this one.

Mehmed of the Ottomans
Wars Declared: 51
Wars Declared Upon: 32
Survival Percentage: 45%
Finishes: 1 First, 5 Seconds (15 points)
Kills: 9
Overall Score: 24 points
Mehmed ended up being a weaker verison of Mao across the alternate histories, another leader that almost never won the game while finishing in second place a bunch of different times. He had a difficult starting location from a diplomatic perspective, wedged in between the other three strongest leaders on the board (Mansa, Isabella, Mao) without any easy access to the weaker leaders to the northwest. Mehmed almost always found himself in conflict with Isabella, and as we saw on Livestream, this perpetually left him vulnerable to Mansa Musa attacking him from the other direction while his armies were off fighting in the south. Even on the occasions where Mehmed was able to eliminate Isabella and absorb her territory, the amount of time and effort that it took to effect a successful conquest usually left the Ottomans too far behind to compete with a Malinese empire which had been zooming ahead on research the whole time. Mehmed pulled off his dream scenario exactly one time in Game #12 and it was a near-run thing there. After defeating Isabella, Mehmed then turned north to go after Mansa... and the Ottomans took the final of three Malinese would-be Legendary cities when it was sitting at 49k culture, only a turn or two away from delivering Mansa yet another victory. This was the tightrope that Mehmed had to walk and he usually wasn't that fortunate. His natural ally Peter was weak on this map and the Ottomans simply didn't get enough time to snowball ahead via conquest before Mansa could win the game. Aside from the outlier result in Game #12, the best that Mehmed could do was tag along as the junior partner behind Mansa (or Isabella in the games where Spain was strong). He declared the most wars of any AI leader and scored a respectable number of kills but it simply wasn't enough.

Peter of Russia
Wars Declared: 37
Wars Declared Upon: 29
Survival Percentage: 30%
Finishes: 2 Firsts, 1 Second (12 points)
Kills: 6
Overall Score: 18 points
Peter's final score across the 20 alternate histories was similar to Mehmed but the Russian leader was significantly weaker in most of the games that took place. His score was elevated due to winning two games outright which offset Peter's repeated status as the First to Die leader in the other more typical matches. Peter was the first leader to exit the game in fully half of the alternate histories and it was unusual to see him sticking around much past Turn 200. It's a bit unclear to me why Peter performed so poorly given that the land around his capital was above average in quality. The Russian diplomatic situation wasn't great thanks to having Mansa and Roosevelt as nearby neighbors but it wasn't unplayably terrible either, not with Mehmed and Mao as other neighbors who rarely found themselves drawn into conflict with Peter. The Russians were simply bad in this game, not expanding well and not taking advantage of the nearby resources on the map. It was rare indeed for Peter to emerge as a major competitor but when he did it was bad news for Mansa Musa and the other high peace weight leaders. In Game #7, Peter and Mehmed teamed up to eliminate Roosevelt and then joined forces to take down Mansa after conquering America's territory. During Peter's two victories in Game #10 and Game #17, he was able to work together with Mehmed to score an early kill on Mansa Musa and then snowball off the rich Malinese territory. These situations rarely occurred though since Mehmed was typically drawn into wars on the southern side of the map and found himself unable to assist Peter. This left the Russians standing alone and resulted in all of those First to Die eliminations. Peter therefore only had a slim chance to become one of the top AI leaders on this map and circumstances rarely allowed him to climb to the top of the heap.

Roosevelt of America
Wars Declared: 29
Wars Declared Upon: 34
Survival Percentage: 55%
Finishes: 0 Firsts, 1 Second (2 points)
Kills: 6
Overall Score: 8 points
Roosevelt was the AI leader who was least likely to advance onwards to the playoffs, even less likely than Peter despite all of that dying that the Russians kept engaging in. The natural inclination would be to assume that this was due to Roosevelt being an inert builder but surprisingly that was not the case. Roosevelt declared war almost as often as someone else declared war on him and he was substantially more likely to initiate a war as compared with Mansa Musa. His problem wasn't being overly pacifistic, it was picking the wrong targets for aggression. Roosevelt found himself drawn into warring with Peter in virtually every single game and he rarely gained much from these lengthy conflicts. These wars usually broke out at an early date and dragged down the performance of both AI leaders; by the time that Russia collapsed, Mansa Musa's culture would have grown strong enough that many of the spoils would wind up in Malinese hands without a fight. What was most surprising to me was Roosevelt's inability to ride Mansa's coattails to a second place finish which had appeared to be a likely outcome heading into this game. While the two of them were indeed natural allies, Roosevelt's score tended to be unimpressive and it was instead Mao or Mehmed or Isabella who coasted into the second place spot on Mansa's victory podium. The Americans simply couldn't amass enough territory or population to get near that second place spot and cash a playoff ticket. Roosevelt's only second place finish actually came behind Isabella, not Mansa; I think that Mansa running the culture slider in all of his victories probably stole a ton of tiles away from Roosevelt and starved his cities into low populations. In any case, this wound up as a highly ineffective game from Roosevelt as he achieved virtually nothing across the replays of this map aside from getting the elimination credit against Peter half a dozen times. It was a game to forget for this American leader.

As mentioned at the outset, we mostly saw a typical game for this map aside from the presence of that one barbarian city. Spain was weaker than usual but this was offset by the Ottomans picking up Christianity rather than their usual Islam and we still ended up with Mansa/Mao/Peter in the three leader categories. We did not see a wacky outcome like the one game where Mehmed was the winner or Mao took home a Diplomatic victory in the United Nations. If there was one other unusual aspect of the game that took place on Livestream it was the total number of wars. We had 15 wars in our game and that was much higher than normal with the average across the map replays coming out at 10.65. Otherwise we saw a normal game even if some of the exact details contained some oddities. For everyone who had Mansa and Mao in the picking contest, you made good choices for this map as the favorites came through for once in Season Six.
Thanks as always for reading, I hope you enjoyed this look back at Game Seven!


