
Game Seven Alternate Histories Spreadsheet
One of the recurring features of past seasons of AI Survivor have been our "alternate histories", running additional iterations on the same maps to see if the same events would play out again. One of the wildest games from Season Three was Game #7, the game where Wang Kon infamously lost his capital city and yet somehow managed to win an extremely late Spaceship victory because Charlemagne only put one engine on his own competing spaceship. Was that something which would unfold in each game? This was a topic that called for more investigation with alternate history scenarios. Following the conclusion of previous seasons of AI Survivor, I had gone back and investigated some of the completed games and found that they tended to play out in the same patterns over and over again. While there was definitely some variation from game to game, and occasionally an unlikely outcome took place, for the most part the games were fairly predictable based on the personality of the AI leaders and the terrain of each particular map. Would we see the same patterns play out again and again on this particular map?

The original inspiration to run these alternate histories came from Wyatan. He decided to rerun the Season Four games 20 times each and publish the results. The objective in his words was twofold:
- See how random the prediction game actually is. There's a natural tendency when your predictions come true to go "See! Told you!", and on the contrary to dismiss the result as a mere fluke when things don't go the way you expected them to (pleading guilty there, Your Honour). Hopefully, with 20 iterations, we'll get a sense of how flukey the actual result was, and of how actually predictable each game was.
- Get a more accurate idea of each leader's performance. Over 6 seasons, we'll have a 75 game sample. That might seem a lot, but it's actually a very small sample, with each leader appearing 5-10 times only. With this much larger sample, we'll be able able to better gauge each leader's performance, in the specific context of each game. So if an AI is given a dud start, or really tough neighbours, it won't perform well. Which will only be an indication about the balance of that map, and not really about that AI's general performance. But conversely, by running the game 20 times, we'll get dumb luck out of the equation.
Wyatan did a fantastic job of putting together data for the Season Four games and I decided to use the same general format. First I'll post the resulting data and then discuss some of the findings in more detail. Keep in mind that everything we discuss in these alternate histories is map-specific: it pertains to these leaders with these starting positions in this game. As Wyatan mentioned, an AI leader could be a powerful figure on this particular map while still being a weak leader in more general terms. Now on to the results as run by Amicalola:
Game One | Game Two | Game Three | Game Four | Game Five
Game Six | Game Seven | Game Eight | Game Nine | Game Ten
Game Eleven | Game Twelve | Game Thirteen | Game Fourteen | Game Fifteen
Game Sixteen | Game Seventeen | Game Eighteen | Game Nineteen | Game Twenty


(Note : "A" column tracks the number of war declarations initiated by the AI, "D" the number of times the AI is declared upon, "F" the points for finish ranking, and "K" the number of kills.)
Amicalola: Well, it appears that once again, by our current ruleset the Real Game Seven was even more of an outlier than Real Game Six had been! Wang Kon was the weakest leader on the map, and Charlemagne was only slightly better. The two of them tended to stay in the top half of the map, staying out of the better leaders' ways being their best shot at advancing out of the game. Between them, they managed to win once each, a smattering of random second places, and died first zero times. Meanwhile, there were three leaders who drove virtually all the action, those being Mehmed, Huayna Capac, and (surprisingly) Bismarck. Between them, those leaders claimed 90% of the wins, 50% of the second places, and (remarkably) 75% of the First to Dies as well - they were responsible for basically every dynamic action that took place, and their battle for overall point-supremacy was fantastic to watch. Finally, Tokugawa was the only leader who failed to score a win, and was responsible for the remaining quarter of First to Dies - he was given a tough central position with unfriendly neighbours, and struggled to make much of this start. Tokugawa was typically able to score second in the games he survived, but there just weren't many of those in the first place.
So how exactly did the games play out? Well, there were a few trends. To start with the north, Charlemagne and Wang expanded poorly, and I suspect that both suffered a lot from the removal of the Deity starting techs compared to the real game. With these poor openings in mind, Wang Kon and Charlemagne had two options - they could either fight their southern neighbours, which both did semi-frequently, or they could fight each other, which was surprisingly the more common outcome. However, there were problems for both leaders with both strategies: they were usually unable to advance in either scenario, and these repeated stalemates were responsible for their poor performance.
The other four leaders had much more dynamic and varying performances across the 20 games though, and it was the diplomacy and initial competition between them that typically decided the outcome of the games. Huayna Capac and Mehmed were clearly the two strongest leaders, but their paths to victory were quite different, and they were often in competition with each other, rather than cooperative. Though they rarely fought, they each were able to peacefully settle the land in-between them around half the time, and this generally had massive consequences, with whoever got those 2-3 city spots being considerably stronger than the other. When Huayna Capac got them, he was often able to vulture further cities - very, very high-quality-land cities - from Bismarck, and snowball to a dominant cultural victory. In these games, Mehmed was playing catchup, and his second places behind HC were rarely competitive. However, in the other half of games, Mehmed was able to settle those cities, and that set him up very nicely to eat Bismarck and snowball the game for himself - again, second place was rarely competitive in this scenario, and was just whoever Mehmed sneezed at last. Only one of these leaders could be strong, and that leader usually won the game.
The final strong competitor was also the most volatile, as Bismarck shockingly won a quarter of the games, and was almost always the score leader coming into the midgame. I'm not sure what happened to him in Real Game Seven, but in these games, he was able to consistently take advantage of his double-gems start, sometimes resulting in him having Construction before T100(!). Bismarck was nearly inevitably dogpiled in the centre of the map, being the most likely target for Huayna Capac, Mehmed, and Tokugawa, and he usually died first regardless, whittled away by a thousand cuts from his initial position of strength. Whoever else got those high-quality cities was well-positioned to win the game from there. But occasionally he was able to win a 2 vs 1 battle and conquer these enemies, and once he'd made it out of those initial wars alive, Bismarck became a terrifying force to behold. Though he fell off a little in the second half, Bismarck played a very impressive series of games from a jungle-choked start and an appalling diplomatic position, and I'm a little disappointed we didn't get to see one of those games on the livestream.
Now for a look at the individual leaders:

Mehmed of the Ottomans
Wars Declared: 52
Wars Declared Upon: 18
Survival Percentage: 80%
Finishes: 5 Firsts, 7 Seconds (39 points)
Kills: 24
Overall Score: 63 points
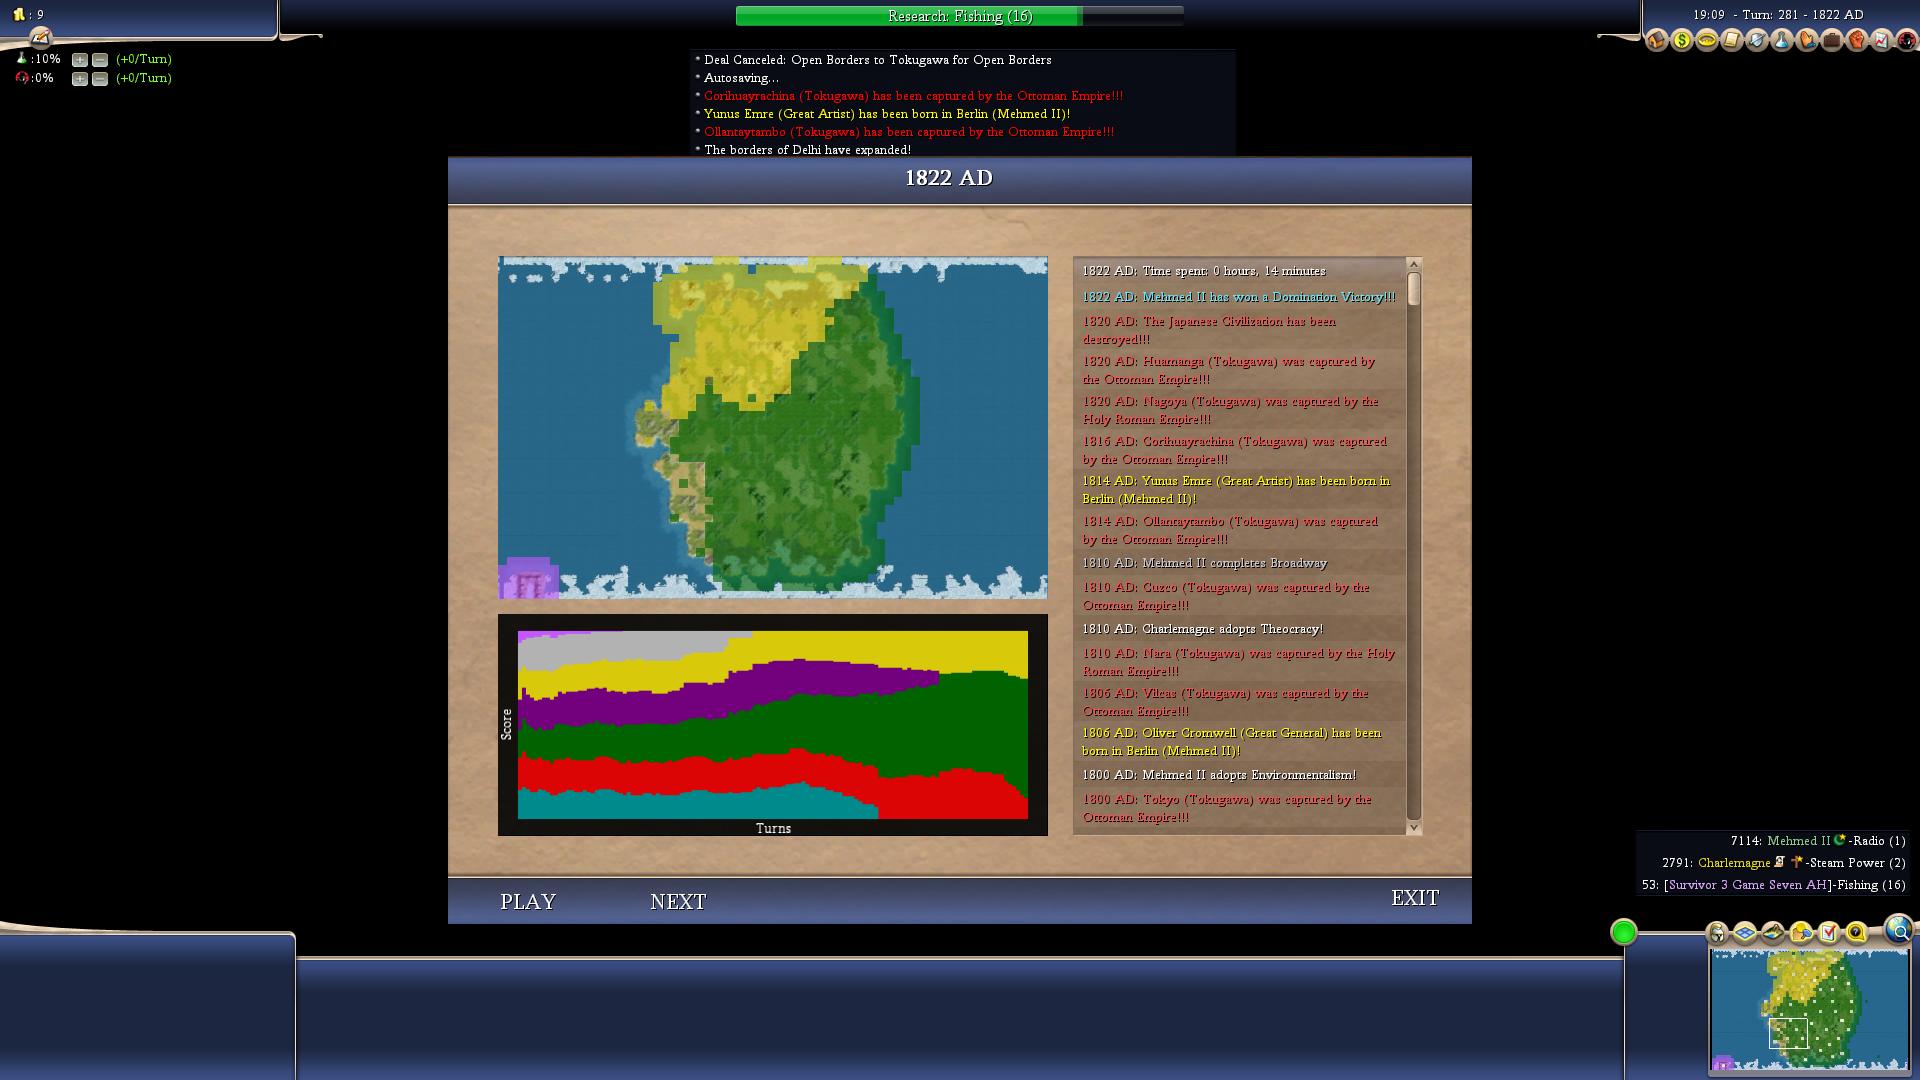
Mehmed didn't win the most games, but he did advance the most often, and he was the most consistent leader of this group. Even when Huayna Capac was able to settle those in-between cities, Mehmed could usually profit from the mass-dogpile on Bismarck enough to maintain some relevancy, and scored most of his second-place finishes and kills in this fashion. Mehmed wins, when they occurred, typically revolved around Bismarck collapsing faster than usual - Mehmed could then use the incredible (post-Iron Working) land of ex-Germany to power more conquests. Wang Kon was nearly always the next target, and then it was just luck of the draw whether Huayna Capac, Tokugawa, or Charlemagne would make it out of the Ottoman bloodbath alive. The only exception was the truly incredible Game 19, in which Mehmed attacked Huayna Capac instead of Bismarck, and lost the war (and a city) in the process. He then attacked HC again in what looked like pure suicide, before somehow managing to solo-conquer the previously dominant Incans, and beating Charlemagne in one of the closest spaceship races I've ever seen, amid the ruins of a Fallout-level nuclear apocalypse. It was reminiscent of the S5 Championship, where Mehmed had not been the dominant leader until very late, which are always the best games to watch.
When Mehmed was weak, it could be for a few reasons. Delaying Mysticism wasn't an every-game occurrence, but it did happen enough to be noteworthy. There were also three locations Mehmed could settle his second city, and one was in the tundra - those games tended to end badly as well. Finally, Mehmed sometimes had to fight Bismarck 1 vs 1 instead of joining a dogpile; this was a difficult war to fight, and usually led to a stalemate at best, or to Bismarck reversing the tide at worst. Mehmed had to take part in a dogpile to become strong, but he was lucky enough that one nearly always materialized.

Huayna Capac of the Incans
Wars Declared: 29
Wars Declared Upon: 24
Survival Percentage: 55%
Finishes: 8 Firsts, 2 Seconds (44 points)
Kills: 3
Overall Score: 47 points
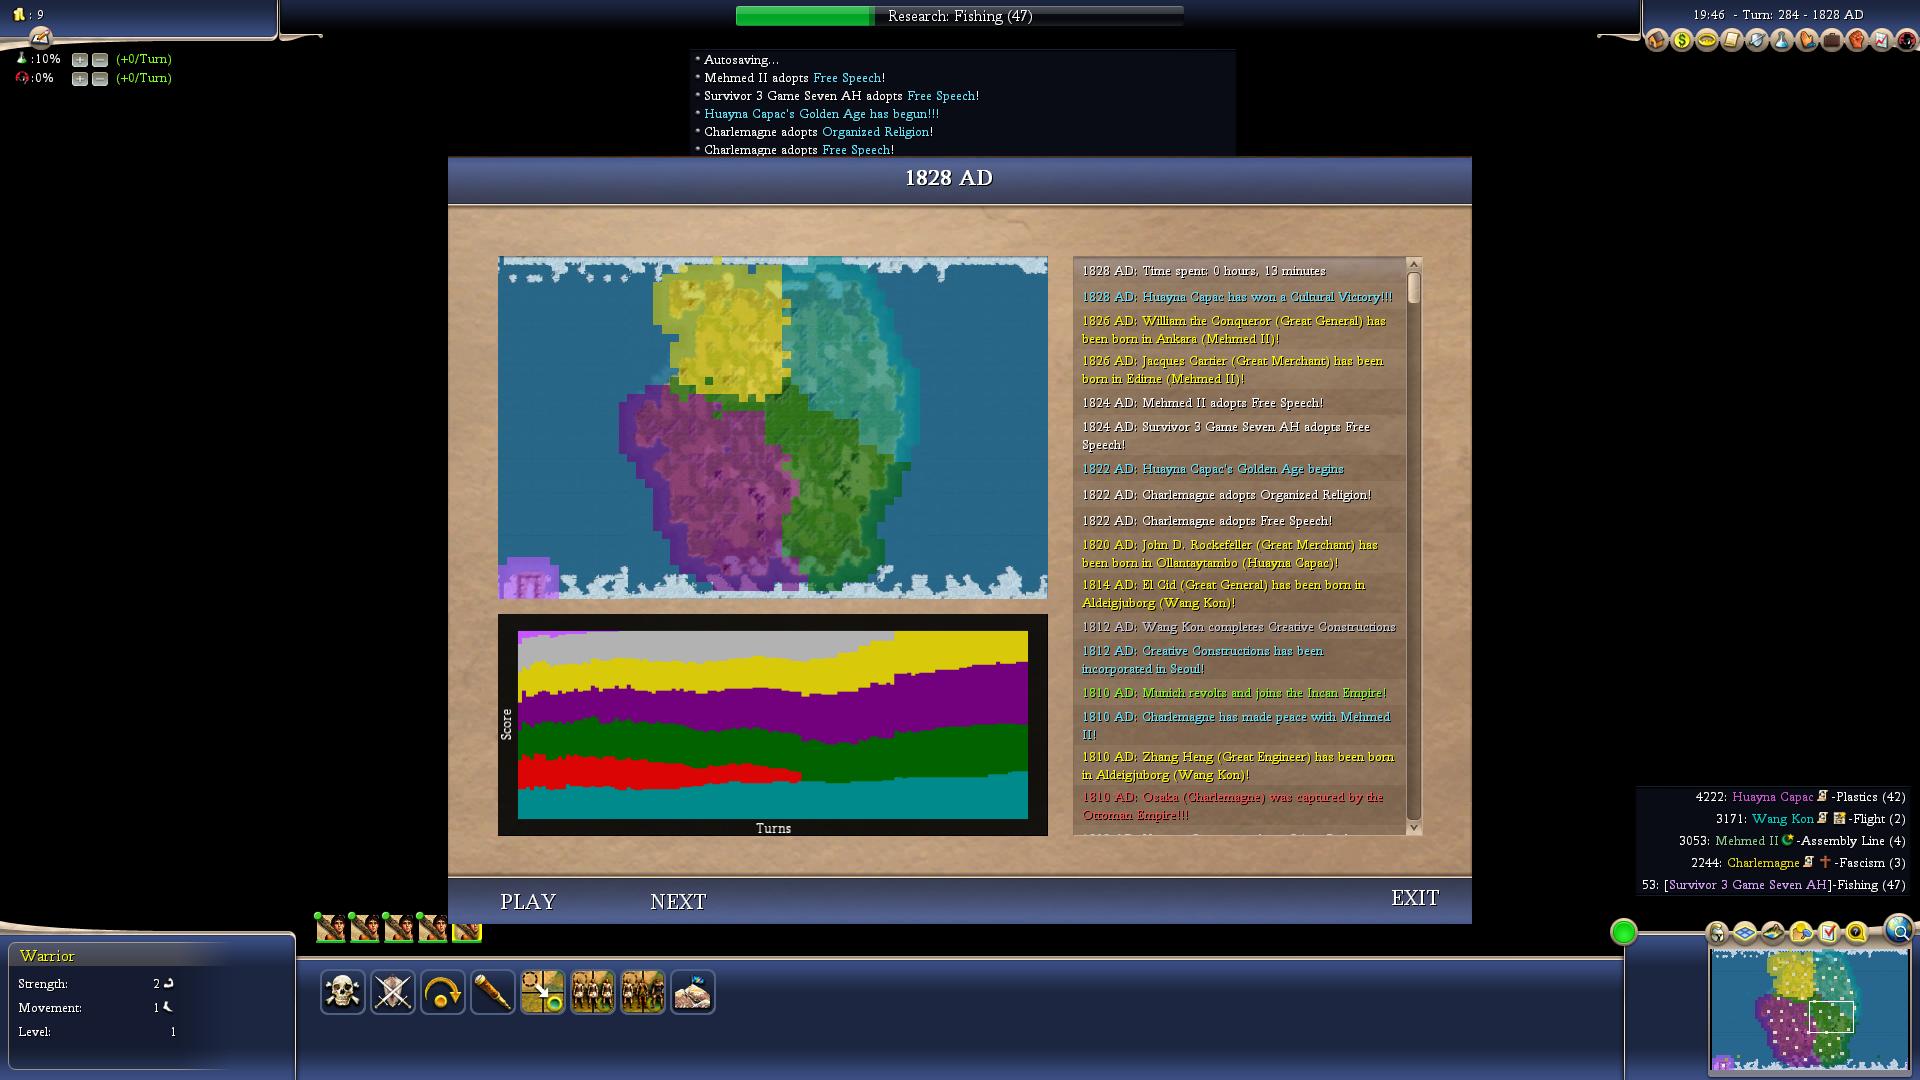
Huayna Capac wasn't quite as consistent as Mehmed, but he won the second-most games, and was clearly the second-strongest leader on the map. Huayna's games were less open-ended than the Ottoman ones, and they tended to go one of two ways. Sometimes, Huayna Capac would settle the land in-between him and Mehmed and get drawn into conflict with Bismarck, which would set him up for a cultural romp as we've come to expect. In those games, it was easy to see why Huayna Capac is considered the strongest leader by most fans, as he was able to turn a not-very-fertile start into a productive paradise.
Alternatively, Huayna would expand quite poorly, or be trolled by a cross-map Wang Kon attack (this probably happened in around a quarter of the games), and he would be a weak also-ran. In those games, he usually didn't even make it to the finish line, being wiped out late in the game by Mehmed, Charlemagne, or Bismarck after those leaders had run out of other enemies. Huayna Capac might be the best AI leader, but he still has flaws, including that he can be too peaceful for his own good. Even when he was strong, Huayna was quite bad at fighting wars, and this led to some inexplicabl losses such as Game 19. It is also worth noting HC's favourable diplomatic situation, as he was surrounded by two leaders inclined to like him, and was typically left alone early on; this makes his high death rate less understandable. Thus, this performance was impressive, but it was also less impressive than people might have come to expect from the Incan juggernaut, particularly on the military side of things.

Bismarck of Germany
Wars Declared: 17
Wars Declared Upon: 53
Survival Percentage: 30%
Finishes: 5 Firsts, 1 Second (27 points)
Kills: 11
Overall Score: 38 points
Bismarck was the most surprising leader here, and definitely in a good way. He always exited the landgrab phase with a tech and score lead, and it required teamwork from the other leaders to drag him back into the pack. When he won three of the first four games, I thought we might have had an incredible outlier on our hands, but unfortunately he wasn't able to sustain the magic and only survived three of the final seventeen games. Nevertheless, when he performed well, Bismarck was able to convert a terrible diplomatic position and a claustrophobic start into some scary performances, and if he was ever able to conquer a neighbour, the game was already over. Huayna Capac, Mehmed and Tokugawa were all viable targets for conquest, and Bismarck was able to win the 1 vs 1 with any of them (see Game 1, Game 3, or Game 8).
Unfortunately, he rarely got the chance. Bismarck was attacked by Mehmed in nearly every game, and at least one of Tokugawa and Huayna Capac would join the Ottoman attack. Making matters worse, Wang Kon attacked Bismarck from the north in a lot of these games, maybe 6-8 of them. Bismarck would be whittled away, and it only took one or two core cities to fall before he was doomed against the production queues of 2-3 AIs. It says a lot that Bismarck placed in every game he survived, and when he was allowed to play the game, he played it very, very well.

Charlemagne of the Holy Roman Empire
Wars Declared: 32
Wars Declared Upon: 41
Survival Percentage: 60%
Finishes: 1 First, 3 Seconds (11 points)
Kills: 13
Overall Score: 24 points
Charlemagne was almost certainly the least interesting leader here. He expanded alright, if not impressively. He fought a lot in most games, but was rarely able to make much out of those wars (and scored a lot of lucky last-hits to inflate his kill count). All of his second places were distant bar one, the wacky Game 19. And his only victory had to profit off an unusually weak Tokugawa, and inconclusive wars between Mehmed and Huayna Capac, and between Wang Kon and Bismarck - in other words, everything had to go right. Charlemagne also suffered very little pressure early on, as evidenced by never being first to die. Fighting Tokugawa was Charlemagne's path to success, as occasionally he was able to solo-conquer the Japanese, but often this would lead to lengthy stalemates as Charlie took too long to finish the job. His other option, fighting Wang Kon, was usually a disaster for both leaders, and Charlemagne did each around half the time.
I suspect Charlemagne was weakened to a considerable degree by the loss of Deity starting techs, and by the removal of the AP [Apostolic Palace]. I had gone into this game thinking Charlemagne was probably in the top half of AI Survivor leaders, but he made very little of a promising start and diplomatic situation, and played out a series of relatively inert and passive games. If Bismarck was the most impressive leader compared to my expectations, Charlemagne was the least impressive, and going to the wildcard game as often as actually dying says a lot about his mediocrity.

Tokugawa of Japan
Wars Declared: 41
Wars Declared Upon: 33
Survival Percentage: 25%
Finishes: 0 Firsts, 4 Seconds (8 points)
Kills: 9
Overall Score: 17 points
Tokugawa was saddled with the other tough central position, and he lacked the gems that Bismarck had to make it work. He was the only leader not to win a game, and only survived a quarter of the time. Tokugawa was quite capable of ruining Bismarck or Huayna Capac's games, or of putting up impressive defenses to Charlemagne's regular assaults, but he pretty much never snowballed off a solo-conquest, and his tech rate often killed him even when he survived the early wars. The second places that Tokugawa did accomplish were always distant, and he was probably the weakest leader on the map in most games.
To his credit though, Tokugawa had the worst land, and still managed to perform around as well as Wang Kon and Charlemagne regarding the number of games he advanced from. He might also be undervalued by these 20 games - I accidentally ran a 'Game 21,' and Tokugawa won a crushing domination victory there. Thus, much like Bismarck, these results aren't inherently very impressive, but they do speak to a leader who, at least occasionally, was able to fight his way out of a terrible position. That's certainly better than we can say about some other leaders in AI Survivor.

Wang Kon of Korea
Wars Declared: 44
Wars Declared Upon: 39
Survival Percentage: 45%
Finishes: 1 First, 3 Seconds (11 points)
Kills: 3
Overall Score: 14 points
Wang Kon had the lowest score of any leader, and similar to (if less extreme than) Charlemagne, he tended to sit rather inertly in his northern bubble, rarely dying or collapsing to early pressure, but rarely becoming anything above a second-tier power either. Wang expanded quite poorly, and I suspect that even more than Charlemagne, he was the worst-hit by the removal of techs. His wars tended to be ineffective, as he stalemated against Charlemagne at best, or trolled Huayna Capac, or worst of all, gave Mehmed the crucial assist in the Ottoman conquest of Germany; the latter never ended well, with Wang inevitably next on the chopping block.
To his credit, Wang did declare a decent number of wars, more than two per game. Moreso than Charlemagne, he did at least try to break his way out of the northern bubble. He even managed it a couple of times, with his only win (Game 16) being a pretty impressive romp through the rest of the field. However, even this required the rare scenario of Mehmed taking out Huayna Capac, and Wang Kon was clearly the lesser of the two financial leaders. He lacked the tools to compete with the big dogs, and should apparently count himself very lucky to have won Real Game Seven.

Well, if I'd thought Real Game Six was an outlier, imagine my surprise when I saw this game! By far the most likely duo to advance were Huayna Capac and Mehmed, in either order, and the only other leader who was remotely competitive was Bismarck. Thus, Mehmed's near-conquest of Wang Kon was not a lucky break for the Ottomans - it was instead Charlemagne's successful interruption of that conquest that was the outlier, with both himself and Wang Kon being the least impressive leaders on a map full of surprises. Bismarck, despite his strong performance, was still first to die a clear majority of the time, and at least that part of the game played out as expected. Hopefully this AH will be useful for people in judging the relevant leaders - perhaps Mehmed and Bismarck are better than we think, and perhaps we should think twice before favouring Charlie or Wang Kon again. I hope you enjoyed reading, and I'll be back with another game soon.
Cheers ~ Amicalola 


